Now I set about working out a stand on which to mount the mirror piece so it can be removed at will.

A fragment of a c.1960s/70s electric chandelier is screwed into an arrangement I like. I then pick out one of a quartet of vintage wooden coasters made by some hobbyist long ago who was teaching him/herself to carve. I've had these for years and have wanted to employ one for a long time. Perfect to use one here.


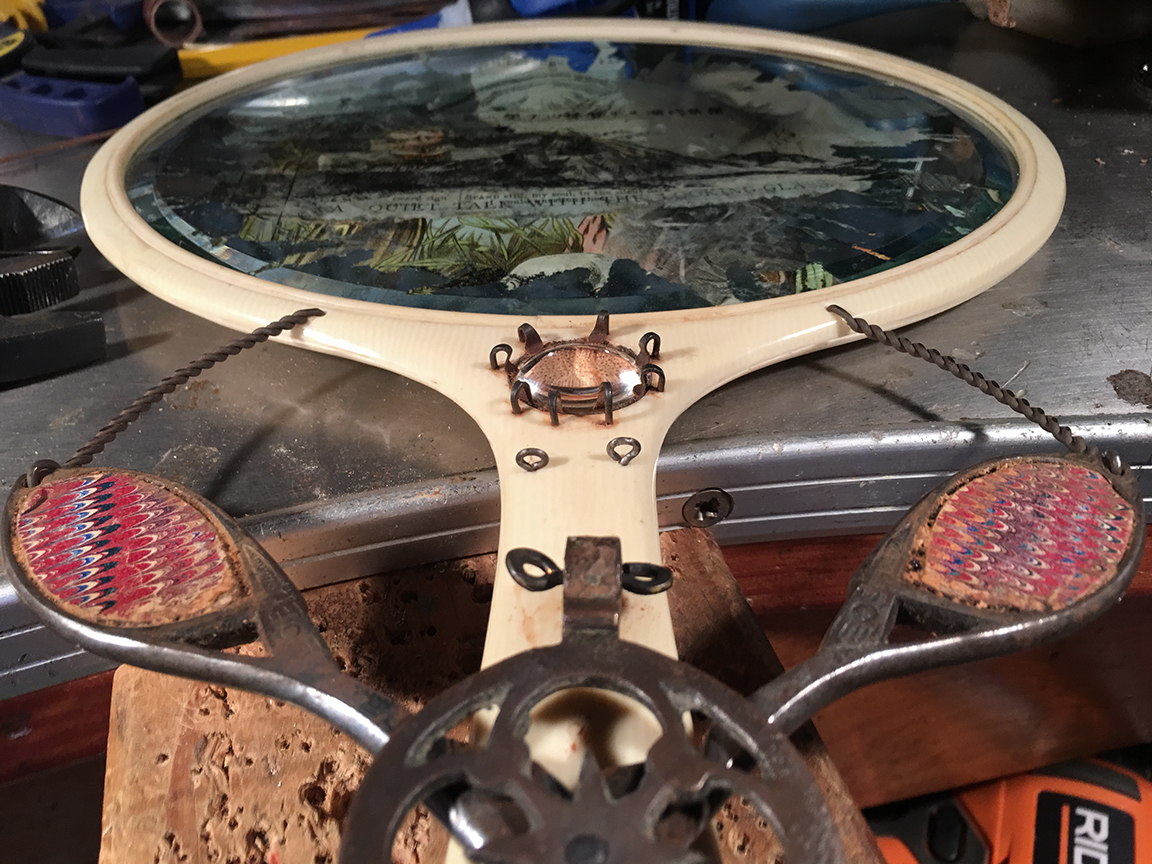
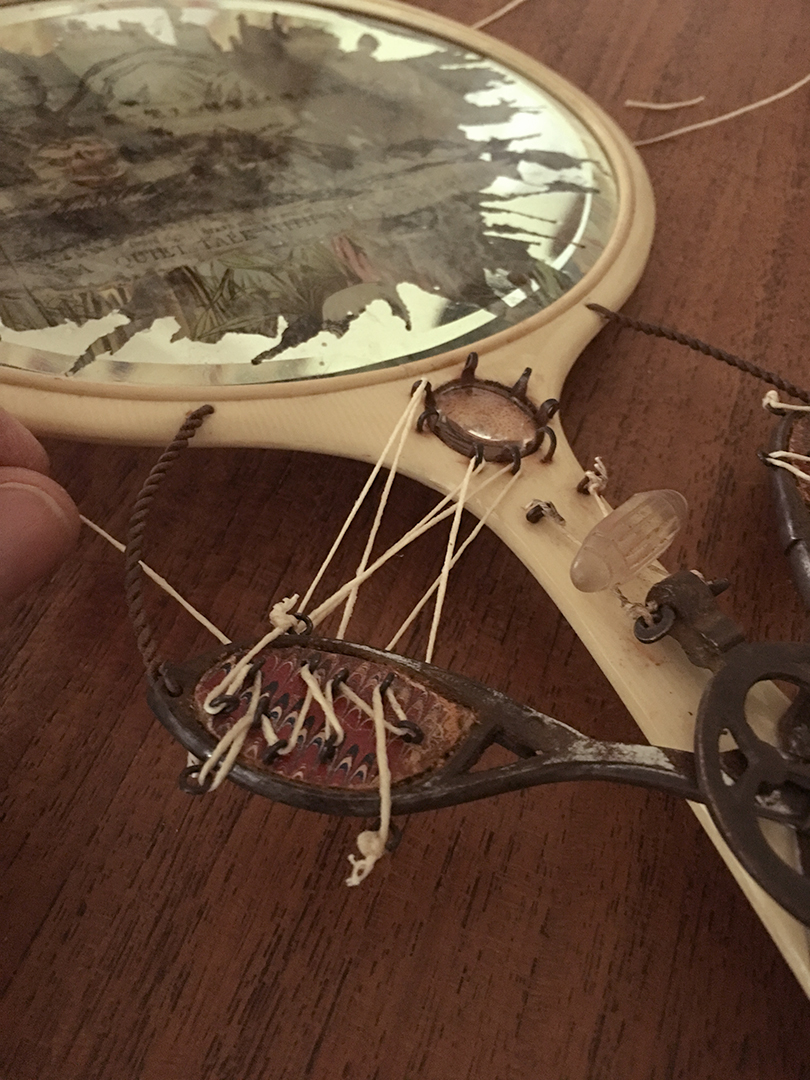
I fabricate steel clips to attach the coaster to a copper sheet backing. Two homemade brass turned rods are soldered to the plate and fed through the coaster. These rods poke through holes in the scissor handles - and the antique screw and peg will support the angle of the mirror when at rest.

I'm delighted with how it's coming along.
Then Fate steps in, as it often does. :)

The stand is knocked off my bench and, being poor quality cast metal, shatters into three pieces. Though I'm crestfallen, I look down without a sound (curse or otherwise) and put the pieces back on my bench to sit with tomorrow.
I have been doing this long enough to know that mistakes - hard turns - result in work that is far better than originally envisioned.


Papering the stand with mid-19th-century engraving tissue.


Then a wire armature to coil the length of the arm, and papered again.

More paper collaged. Now drying time will allow the wire to rust into the paper and create color and texture.
As it dries I turn my attention to finishing the back of the mirror.


Gorgeous mid-17th-century paper from Paris becomes the final collage on the mirror back. A few elements are layered in after this image is taken, and the piece is complete.
Please come view the finished artwork on my website here.
For purchasing information, visit my online shop here.